Social Media Workflow: A 7-Step SOP You Can Copy
A practical seven-stage social media workflow with owners, approval rules, done conditions and a copyable control sheet.
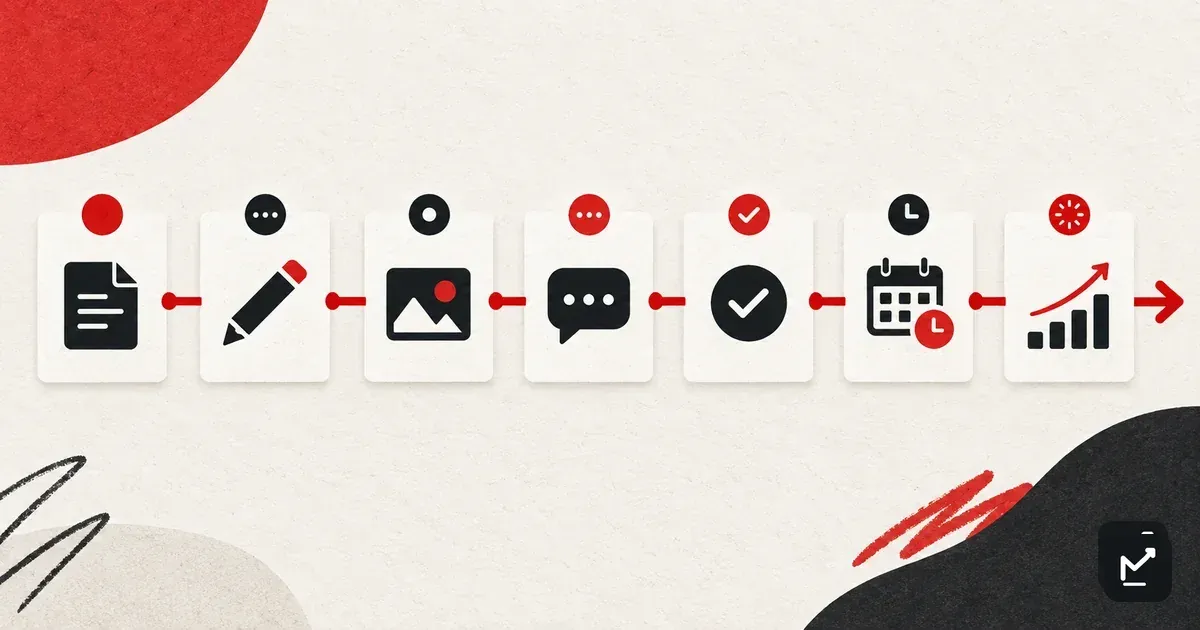
A social media workflow is the route a post follows from request to result. The useful version names a state, one owner, the evidence needed to leave that state and the next owner. That is what keeps “almost ready” posts from sitting in chat threads while everyone assumes somebody else has them.
The social media workflow control sheet
Copy this table before you choose software. It is the compact operating system for one post. The owner is accountable for moving the item; contributors can still help without creating a committee at every stage.
| State | Owner | Required input | Done when | Next owner |
|---|---|---|---|---|
| 1. Brief | Requester | Goal, audience, offer, channels, deadline | One decision and one owner are clear | Writer |
| 2. Draft | Writer | Approved brief | Caption, variants and creative direction exist | Designer or maker |
| 3. Produce | Designer / maker | Draft + asset specs | Final media is linked to the right copy | Publisher |
| 4. Preflight | Publisher | Copy + media + destination | Links, crop, tags, disclosure and account pass | Approver |
| 5. Approve | One approver | Exact preflight version | Approved, or returned with one consolidated note | Publisher |
| 6. Schedule | Publisher | Locked approved version | Correct account, date and timezone are queued | Analyst / owner |
| 7. Learn | Analyst / owner | Published URL + results | One lesson and one next use are recorded | Requester |
This is deliberately narrower than a social media strategy or content calendar. A strategy chooses the audience and outcomes; a content calendar chooses what runs when. The workflow makes each chosen post move.
The seven-step SOP
Current workflow guides from Sprinklr, Sprout Social, Metricool and CELUM all move through some version of planning, creation, review, publishing and analysis. The model below turns that shared pattern into explicit handoffs.
1. Write a decision-ready brief
Put five facts in one place: the action you want, the audience, the offer or message, the channels and the deadline. Add one accountable owner. A brief is done when the writer can make the post without asking what it is supposed to achieve.
2. Draft the copy and the creative direction together
Write the core message first, then the channel variants. Name the hook, proof, call to action and intended visual. Do not send “caption final” to design while the creative direction is still living in somebody’s head.
3. Produce one matched package
The media file and the copy belong to the same version. Link them from the item instead of dropping them into separate chat messages. Production is done when a publisher can identify the final asset without comparing filenames or asking which caption won.
4. Run preflight before asking for approval
Check the destination link, account, crop, spelling, tags, mentions, alt text and any required disclosure. The approver should decide whether the post is right, not spend review time finding a broken URL. Put the checklist in the item so “checked” is visible.
5. Approve the exact version
One named person approves or returns it. If several specialists must comment, one owner consolidates their notes before the item goes back. Approval applies to a specific copy and asset pair; a material edit resets the gate.
6. Schedule the locked version
Select the correct account, date and timezone, then preview the queued post. Store the schedule status with the work item. When approval and scheduling live in different systems, add the scheduled URL or queue ID so the handoff is traceable.
7. Learn once, then reuse the lesson
After the reporting window, record the outcome that matches the brief and one sentence about what to repeat or change. Decide whether the asset should be reused, adapted or retired. The goal is not a large retrospective; it is one useful input for the next brief. Use a small set of social media KPIs tied to the post’s job.
Build an approval gate that does not become a waiting room
| Rule | Why it helps | Fallback |
|---|---|---|
| One approver per risk type | The post never waits for an unnamed group | A named backup takes over after the service level |
| One review round at a time | The writer receives a coherent decision | The owner consolidates conflicting notes |
| Approve the exact version | Nobody schedules an older file by accident | Any material edit returns to review |
| Use a response deadline | Silence becomes an event, not an indefinite state | Escalate, reschedule or cancel—never assume approval |
| Separate required from optional | Taste does not block a factual or legal check | The approver labels the reason for return |
For regulated, legal or paid-partnership content, insert the specialist check before the final approver and keep the decision with the item. This template does not replace your organization’s legal or compliance process.
Set owners and service levels before the queue is busy
Start with ownership, not a complicated permission matrix. A small team can run the whole system with requester, creator, publisher and approver. The same person may hold two roles; the item should still show which hat owns the next decision.
| Role | Owns | Starter service level |
|---|---|---|
| Requester | A complete brief and priority | Before work enters the queue |
| Creator | Draft and media package | By the production due date |
| Publisher | Preflight, schedule and queue record | Same working day after approval |
| Approver | Approve or return with a reason | One working day for routine posts |
| Analyst / owner | Outcome and next-use note | At the agreed reporting window |
If you work alone, separate modes instead of people
A solo workflow still needs gates. Batch briefs first, create next, then switch into publisher mode for preflight and scheduling. Put a short pause between creation and review so you are not approving while still attached to the draft. Your board can use the same seven states; the owner field simply stays the same.
The short version
- 1
Write the brief before opening the composer.
- 2
Review from the scheduled preview, not the editing canvas.
- 3
Treat a post as locked once it passes preflight.
- 4
Record one lesson; do not turn every post into a reporting project.
Where the workflow should live
- Spreadsheet: enough for a solo operator or a low-volume team. Use one row per post and dropdowns for the seven states.
- Project board: useful when production has many assets, dependencies or contributors. Keep the scheduled destination visible on the card.
- Social media scheduler: useful when the approval decision should sit beside the version that will publish. Social Magnum is ours; its documented team workflow includes workspaces, approval holds and a shared publishing calendar. The current plans are listed here.
A tool cannot repair an undefined handoff. Test the control sheet for one week before automating it; otherwise you will encode the argument you already have.
Fix the state where work waits
| Symptom | Likely break | Smallest useful fix |
|---|---|---|
| Drafts bounce between people | The brief has no decision owner | Add one accountable requester |
| Design starts over | Copy and creative direction split | Approve the hook and visual together |
| Approval takes days | No approver or deadline is named | Name both before production begins |
| Wrong version publishes | Approval and scheduling are disconnected | Lock one copy-and-asset pair |
| Reports change nothing | Learning has no next action | Write one repeat/change/retire note |
Track waiting time by state for two weeks. Fix the longest wait first. More statuses usually make the board look precise; clearer exit rules make the work move.